wednesday was a really great day. i had dinner here with my dad and rach and i got to check something off my bucket list: see stevie nicks in concert.
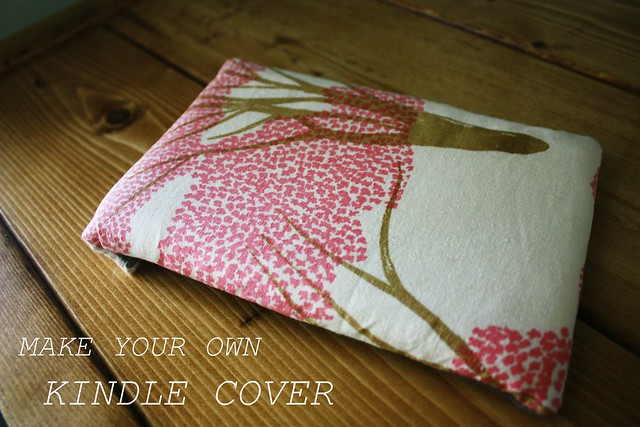
she was other worldly. so beautiful and i teared up twice during the concert. it was such a special, wonderful experience to share with my sister. that same day sam came home with a kindlefor now, make your own kindle cover! for this tutorial you will need:
2 pieces of outer fabric (9.5" x 6.25")
2 pieces of inner fabric (9.5" x 6.25")
2 pieces of lightweight interfacing or fusible fleece (9.5" x 6.25")
cord or elastic cording (3")
a button of your choice
embroidery floss
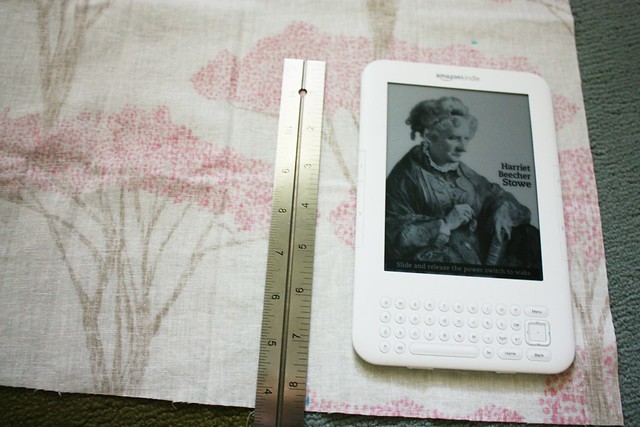
i started out by measuring my fabric, leaving an inch around the kindle. this is a great way to get this tutorial to work for a nook or ipad. once i got the dimensions i cut out the pieces. because i've already pre-measured this step will not be necessary for the kindle.
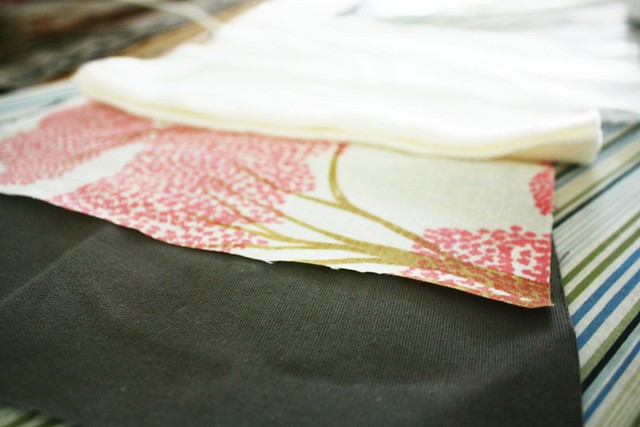
start out by cutting out six pieces: 2 outer fabrics, 2 liner fabrics, and 2 pieces of interface. i used fleece as the liner so i used a lightweight interfacing and followed the manufacturers instructions by ironing it to the exterior fabric. if you weren't using a soft fabric like fleece or felt on the inside, i would recommend using fusible fleece as the padding and then following the instructions.
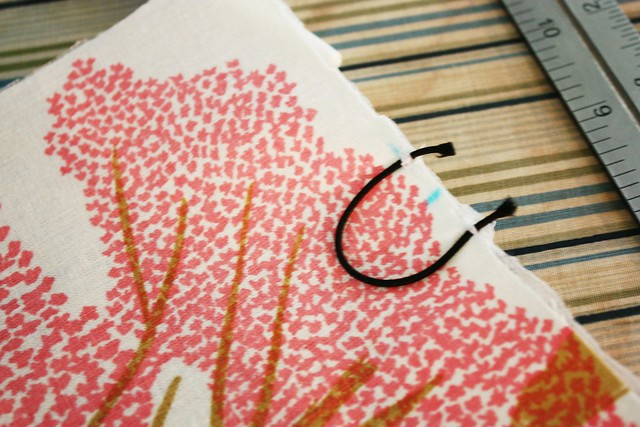
then i took the piece that would be the "back" of the cover and folded it in half. i made a mark and then placed the elastic cord evenly on either side. sew 1/4" from the edge and then trim excess elastic.
next sew the outer fabrics right sides together. sew down three sides (start 1/4" from the top and work your way down all sides minus the top). repeat with the liner fabric but leave a 3" gap at the bottom for turning out. clip bottom corners.
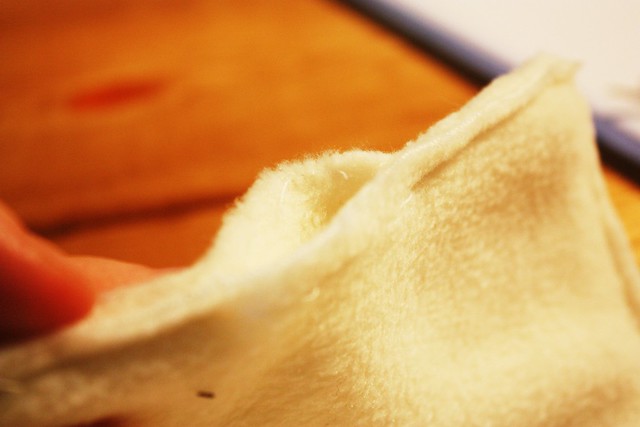
then turn liner fabric right side out and place it inside the outer fabric (still inside out) pin all along the top and then sew outer and inner fabrics together at the top.
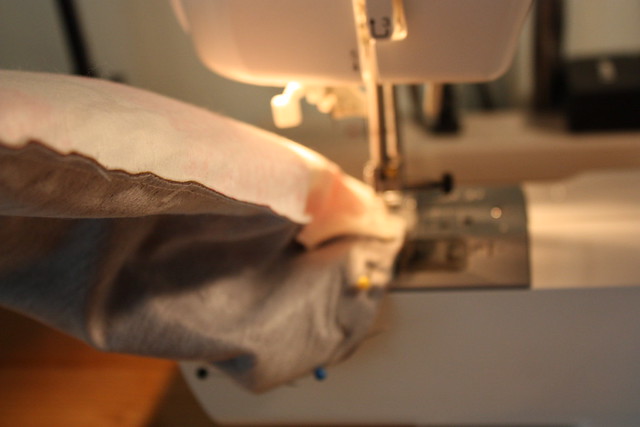
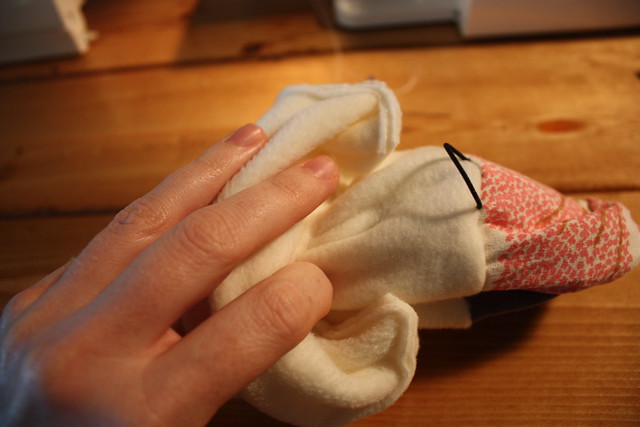
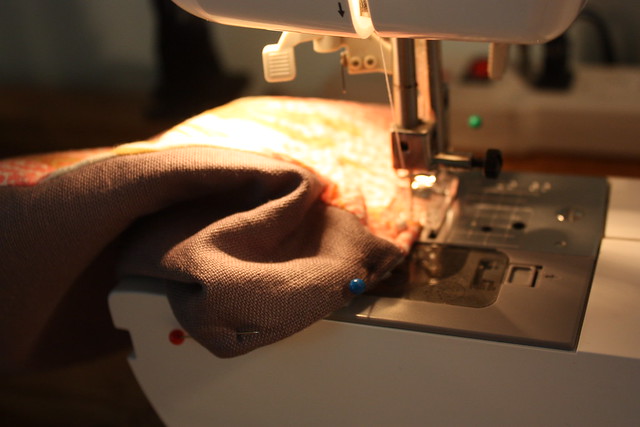
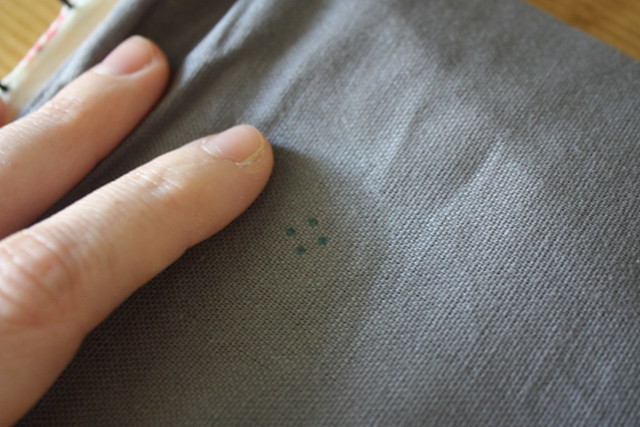
the last step is to place your button where the elastic will fit snugly around it and the folded over fabric won't cover it. i made marks with a fading marker and then sewed the button on with a bright embroidery floss.
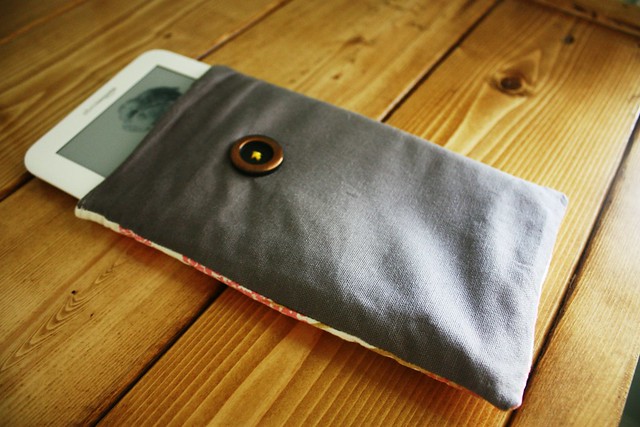
that's it! if you have any questions, feel free to ask them in the comments.
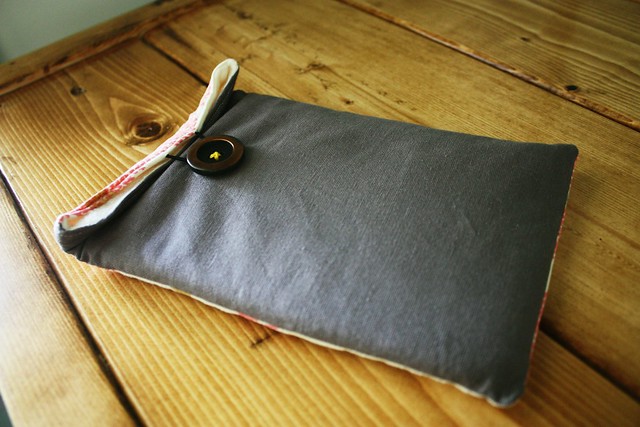
ps LOVING your responses to "the pledge." let's start a revolution. imagine what would happen?!
a button of your choice
embroidery floss

i started out by measuring my fabric, leaving an inch around the kindle. this is a great way to get this tutorial to work for a nook or ipad. once i got the dimensions i cut out the pieces. because i've already pre-measured this step will not be necessary for the kindle.

start out by cutting out six pieces: 2 outer fabrics, 2 liner fabrics, and 2 pieces of interface. i used fleece as the liner so i used a lightweight interfacing and followed the manufacturers instructions by ironing it to the exterior fabric. if you weren't using a soft fabric like fleece or felt on the inside, i would recommend using fusible fleece as the padding and then following the instructions.


next sew the outer fabrics right sides together. sew down three sides (start 1/4" from the top and work your way down all sides minus the top). repeat with the liner fabric but leave a 3" gap at the bottom for turning out. clip bottom corners.

then turn liner fabric right side out and place it inside the outer fabric (still inside out) pin all along the top and then sew outer and inner fabrics together at the top.


the last step is to place your button where the elastic will fit snugly around it and the folded over fabric won't cover it. i made marks with a fading marker and then sewed the button on with a bright embroidery floss.

that's it! if you have any questions, feel free to ask them in the comments.


ps LOVING your responses to "the pledge." let's start a revolution. imagine what would happen?!

5 comments:
Love this! And I need a kindle like I need water. My shelves are outta control right now.
What a great project! Looks so great. I'm thinking I love to read, love to hold books, so let me know what you think about the Kindle. Annnnd, you are going to love Radical! I went to college with David, and then he was in seminary with my David in New Orleans, really amazing fella! You might like to follow him on twitter, too! Hope you're having a great week!
kindle kindle.. nice nice nice.. i love it...
What a quaint idea for a kindle and BTW congrats on your hubby receiving a kindle, I so badly want one as well.
I got a Kindle Fire for my birthday, right before Christmas, and now I need a cover. I saw some great ones made out of felted wool, and I have some too-small sweaters, so I'm thinking I might be able to adapt your pattern. If I get the wool to felt up thickly enough, do you think I'll need to line it? I'm hoping not, since sewing is not my strong suit! I think I'd leave the buttoned-over edge shorter to not have such a bulky flap. What do you think?
Post a Comment