
Showing posts with label DIY. Show all posts

Friday, September 23, 2011

make a birthday corsage!

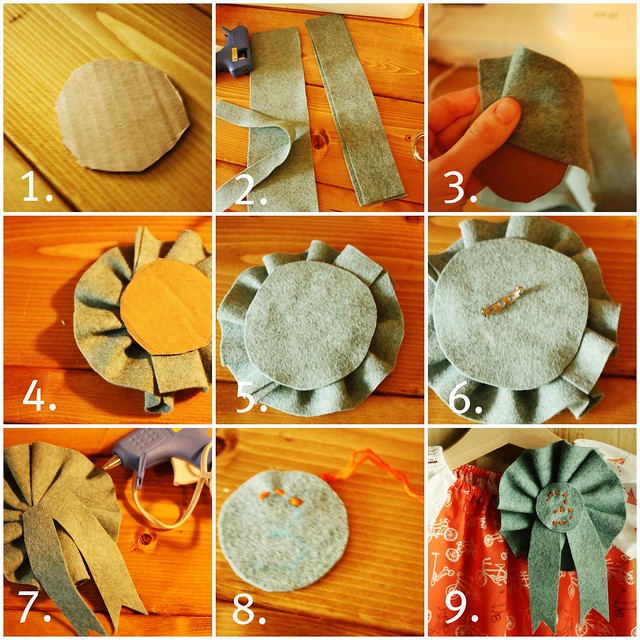
one of the things i heard on the survey over and over is that you would like to see more crafts. you ask and you receive! here is a tutorial on how to make a birthday corsage. this particular corsage was intended to be worn on matilda's dress i made her for her party. she wasn't feeling it, but i think it turned out really cute. i almost want to just add a zero on the end and wear it myself. it's a super easy project that took me no longer than 15 minutes to make.

you will need: felt or fabric, cardboard, hot glue gun, embroidery thread, and pin

1. cut a circle of cardboard out. this will be the backbone of the corsage.
2. cut two 2"x12" strips of felt or fabric.
3. begin to make pleats out of the material, hot glueing each fold to the cardboard until you've made a a half circle.
4. start over with second piece of fabric until you've completed the circle.
5. cut a circle of felt larger than the cardboard and then hot glue on top to cover it.
6. glue pin to the top middle of the back of the corsage.
7. freehand cut the ribbons and glue them to the front of the corsage, covering any cardboard in the middle.
8. using a fabric pen, draw the number you want to embroider onto a circle of felt. thread embroidery floss and use a straight stitch to stitch the number.
9. voila!

have a great weekend!

Monday, March 21, 2011

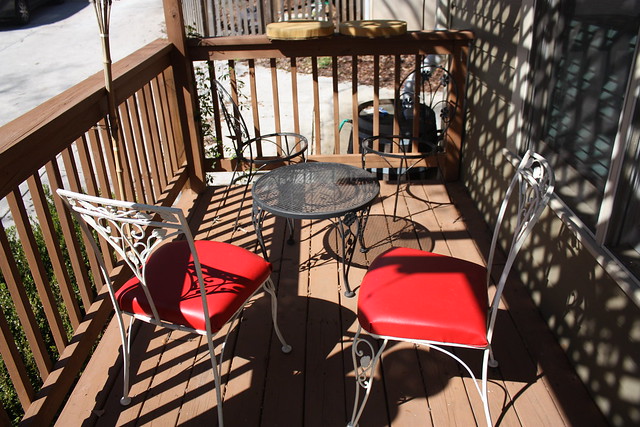
before

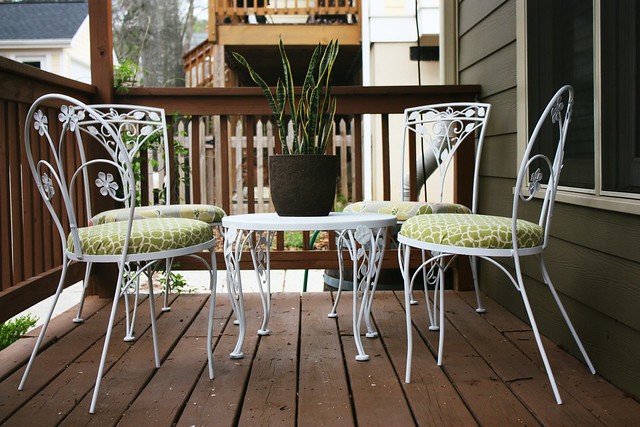
after


remember the weekend project i was working on? well here it is! as you can see, my poor garden furniture was in major need of a facelift. never underestimate the power of a can of spray paint.

garden furniture how-to:

i scrubbed and sanded the paint off of the iron furniture (fun times)
sprayed each chair with a spray paint primer and let dry
went back over the chairs with rust-oleum white spray paint
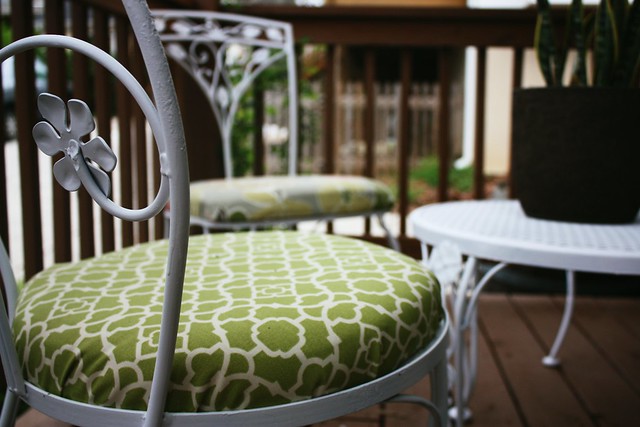
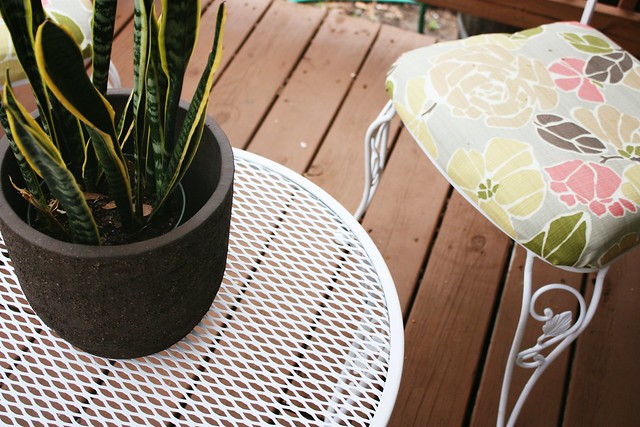
i recovered the cushions with waverly sun and shade fabric using this method (i was never happy with the red)

sam and i are butt-tired. between trying to re-do just about every room in our house and tending after a sick little girl who was also getting her two year molars, we're beat. we did manage to squeeze in some fun with the harts and fire-pit time with the neighbors (love). we are on a mission to check off a spring cleaning checklist which involves moving my sewing nook in to the office which we are redesigning. i'm excited!

Tuesday, April 20, 2010

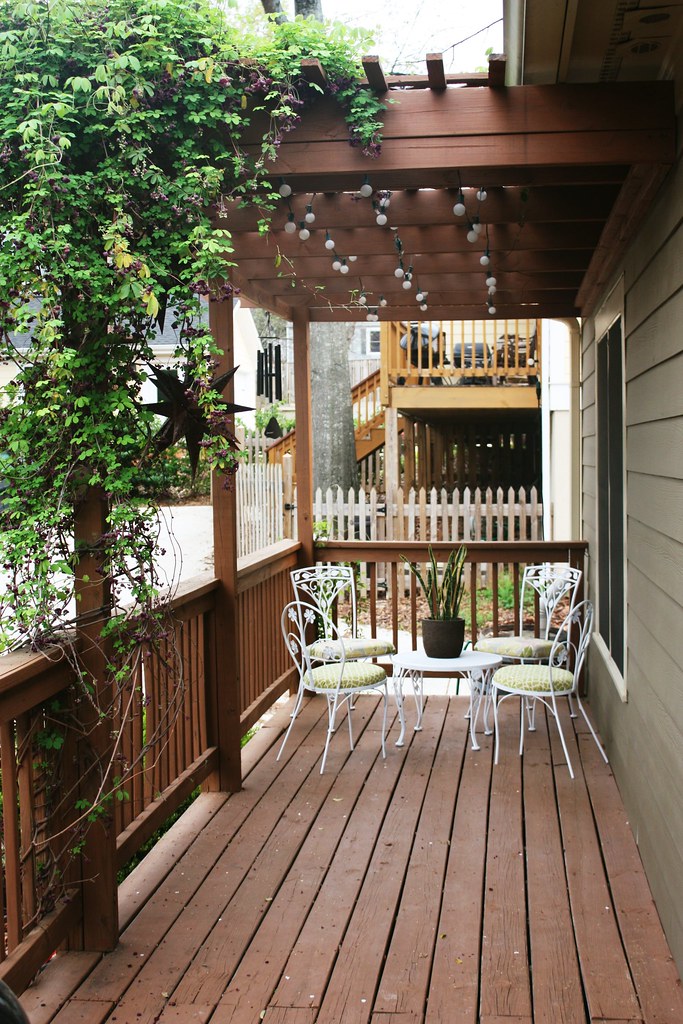
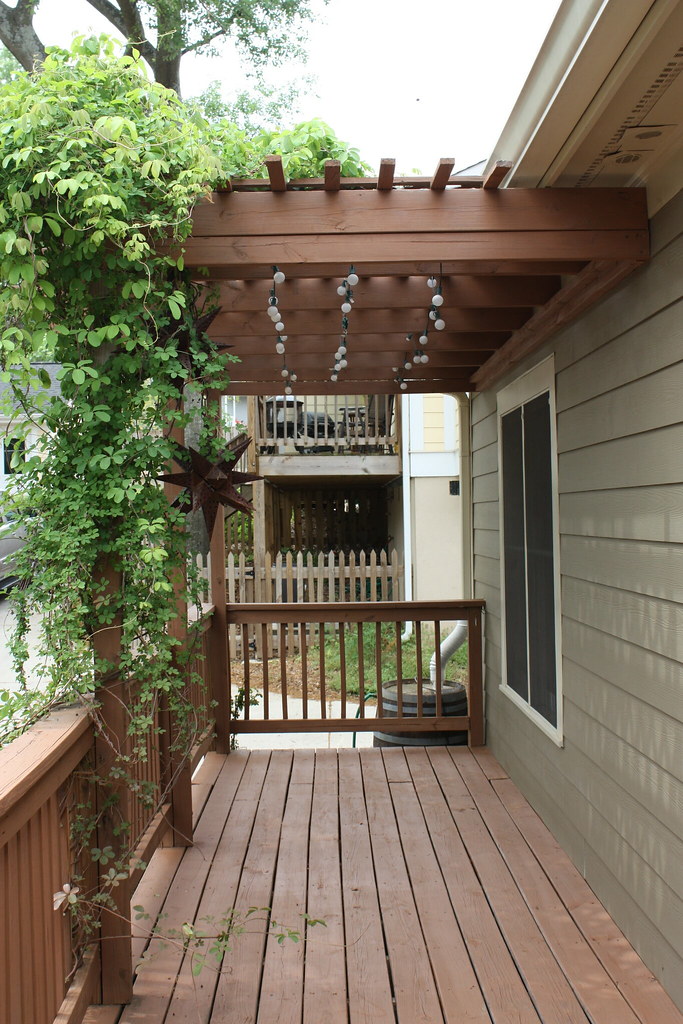
a lesson in deck staining

listen to me, all proud of myself. trust me when i say the universe is keeping me humble.

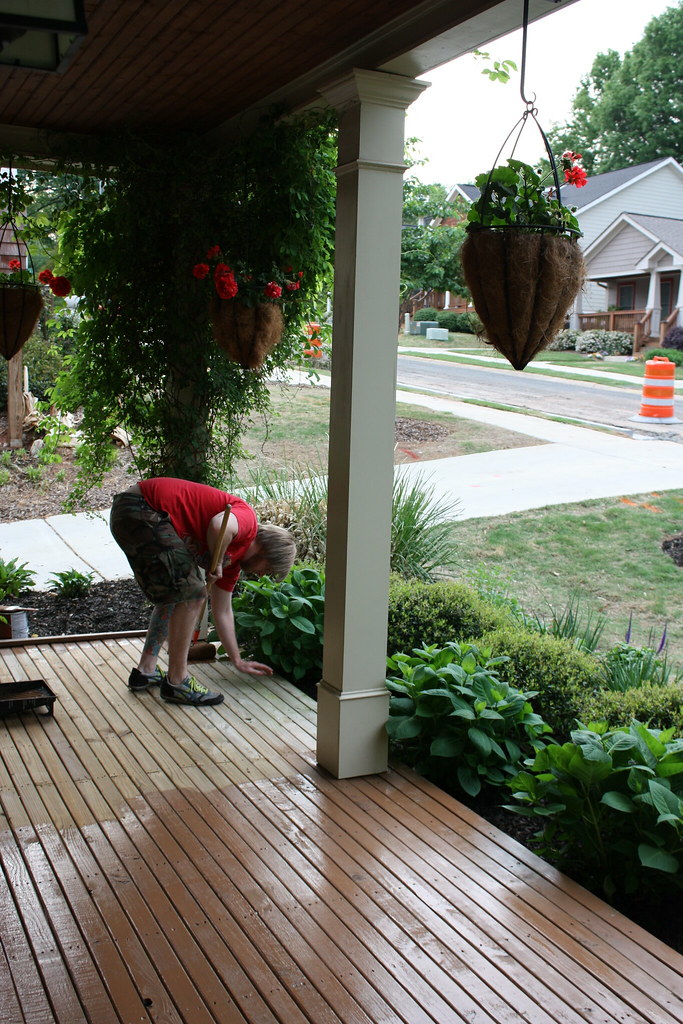
sam and i learned a really great lesson yesterday. you see, there are two types of deck stain: acrylic and oil. oil seeps in to the wood and highlights it. acrylic paints over it. you guessed it we used the latter. sam and i couldn't figure out what what bothering us about the color and it was that it looks like PAINT.


don't think it wasn't a beast (i'm going to be polite) to stain either. a whole day we certainly don't have down the drain, along with over $100 because we got way too much.


it doesn't seem to bother matilda and guinness.


here sam is using the proper stain. it's night and day. also, we're having our street worked on, thus we postponed the yard sale.

all deck gurus please come forward, or just make me laugh. has this happened to you?

© copyright homemade grits

Wednesday, August 26, 2009

DIY: "Antique" bird chandelier

i first saw this amazing chandelier in dwellstudio's fall catalog.


{ohdeedoh}

the exposed wire and bulbs are so industrial, then add the birds and you have a sophisticated, whimsical light fixture.

Danny Seo shares how to make your own in O Magazine.


{how-to antique bird chandelier}

© copyright homemade grits

Friday, May 15, 2009

DIY: Raised bed Part 3


Finally...the good stuff.

On Mother's Day Sam and I (I really did help, someone has to man the camera) sowed seeds and planted vegetables, herbs, and helpful flowers.


Sam created trenches for the water to be able to go straight to the roots. We planted squash, zucchini, carrots, sunflowers, geraniums, okra, swiss chard, tomatoes, cilantro, thyme, sage, parsley, and it seems like I'm forgetting something...


We planted the flowers (oh yes Nastersiums, knew I forgot something) because they attract good pests to eat the naughty ones.


We plan on adding height and texture with 2 more smaller raised beds and gravel. I can't wait.


I simply can't say enough good things about this book, Garden Anywhere
by Alyson Fowler. We gained so much insight in to working with plants in an affordable and beautiful way.
© copyright homemade grits

Thursday, May 14, 2009

DIY: Raised bed Part 2


  1. Rent a truck to pick up your dirt for bed. We chose organic. Total cost: $19 for truck + $30 dirt in bulk= $49 (still $30 less than buying dirt by the bag)


  2. Put down hardware cloth to prevent moles/creatures from coming up through the bottom. I don't know if we have moles in Georgia...


  3. Screw 4 1" PVC pipes to inside of bed. The pipes will connect a long piece of PVC pipe to use as an arbor to protect plants from birds/squirrels as well as insulate the bed in the winter.


  4. If necessary drill stakes to inside of bed for extra support.


  5. We sealed the gaps between the ground and the bed with large rocks.


  6. Start shoveling. Our bed called for a cubic yard of good ole dirt.


  7. We top dressed the bed with mushroom compost.


  8. Fertilize with either sea kelp or 10.10.10 mix


{Recipe for perfect dirt}
Organic potting mix
Compost
Slow Release fertilizer

 
© copyright homemade grits

Friday, May 8, 2009

In response

to my last post, my husband sent me this:

Since "WE" built this box, I thought I would give "our" perspective on how to get 'er dun.( hahaaaa-Lesley)

From the builder himself….


So as my lovely and talented wife has stated earlier, (Is that sarcasm?-Lesley) I don’t like gardening. If the end result of sweating in the Georgia heat, rubbing blisters on my hands digging in the most rock-laden soil on the earth is to look at pretty things, I could forego the manual labor and sit around and look at her all day (brownie points?yes-Lesley), but pretty things I can eat….now that’s something I can sink my teeth into. Pun intended.


I agree with Lesley that the sunset website is most excellent for all things garden and home. They even have a “how to” about building an outdoor Adobe oven. Nice!
But if internet how to’s were as easy as they seemed on them interwebs, we’d all be living in our dream homes right now! So what I offer is this:

The layman’s guide to dumbing your way through Sunset’s perfect raised garden! Bon appetite!

(first caveat: if I sound like I’m writing with any authority, it’s only because I’ve heard someone say it before. Differing opinions are welcome, and probably right!)

So first thing’s first, get your shop on! The list is pretty straight forward, but I did encounter a couple of problems.
*Problem #1: 8 foot 2x6’s in cedar or redwood are on the same aisle as unicorns and dodo birds. Happy hunting! My solution was to buy 8 foot 1x6’s in cedar. The only issue of that is that 1.5 cubic yards of dirt weighs quite a bit, so it’s probably a keen idea to reinforce the cedar boards. I bought 24” untreated fence stakes to use as bracers. We’ll go over their use in a bit.
*Problem #2: I ran out of screws, didn’t buy the right size screws for the stake bracers, and didn’t buy enough hardware cloth. The largest hardware cloth at my HD is 4’x5’. The footprint of your garden bed is 4’x8’, purchase accordingly. Also, if you are going to install the stake bracers, you will need screws that are long enough to get through the stake and cedar board (appx 2 inches), so I bought 1 ¾ inch #8 screws. Your mileage may vary.

-a note about pressure treated lumber and why it’s a no no. Pressure treated lumber contains chromium, copper and arsenic. If you’ve ever watched Perry Mason, Matlock, or Murder She Wrote, you know arsenic=bad, but if you’ve already built a bed out of PT lumber, don’t induce vomiting just yet. Chromium is really only a doosie when inhaled and copper isn’t toxic to mammals. The arsenic in PT lumber leaches into the soil during the first rainy season, but it doesn’t leach more than a few inches into the soil, and plants only absorb a little of it (in the parts that we don’t eat). If you have already constructed a bed out of PT lumber, just be sure to plant your root veggies several inches away from the edge of the bed. My recommendation is that if you have not yet constructed your raised bed, get cedar or redwood and let’s not worry about Angela Landsbury showing up at your front door! (for more info about PT lumber go here: pressure treated wood in beds.


{the zaz}

Let’s build!! The instructions on Sunset are actually quite simple to follow. The one thing I don’t think they talk about is staining the wood. Cedar is naturally water resistant, but for a longer lasting garden bed, you’ll want to stain the wood. Since cedar is also naturally very handsome, I used a natural colored, oil based stain. Let it dry overnight, and you’re good to go.

Now cut two of the 8 foot 1x6’s (or 2x6’s if you could find them) into 4 four foot 1 (or2) x 6’s (layman’s English: cut two of the 8 footers in half). Build a box using the 4x4 as the attachment point. When you get the fourth side of the box, you’ll either need a buddy to hold the board in place, or a finishing nail. Now that you’ve got all four sides put together, do it again.


So your box is built! Now you’ve got to place it. Find a spot in your yard that gets full sun and is hopefully somewhat level. If your yard is level, get your post hole digger and dig four holes deep enough to accommodate the 4x4 post. Once the posts are in place, fill in the holes and move on. Our yard, unfortunately, has more slope than a black diamond in Colorado!
Here’s my (somewhat) successful solution.

Get out the pick axe (or Maddox as it were) and start whistling John Henry. Dig a trench that follows the outline of your bed. Dig it deep enough that the bed will sit flush on the ground. Obviously, the hill side will need to be deeper than the valley side so that the box is level. This part of the project involves a lot of brute force and ignorance, and you’ll have to keep trying until you get it right. Ladies, go ahead and get a beer in the icebox for your man, he’s really gonna need it! I’m not going to write any more on this subject because frankly my hands still hurt, and I’m still mad at my yard for being so slopey!

Now that the bed is level, use the dirt from your trench to fill in all the exposed holes that you just dug. Remove all the grass from inside the box and make sure the soil is pretty much level. It may or may not be necessary to remove the grass, as it will all die when it is covered in a foot of dirt, but why not. You’re already sweaty and dirty.

mmmmmm....stake. If you've used 1x6's, I'd recommed bracing the walls. I chose to put the stakes inside the box. They will probably offer less support that way, but they'll look prettier (by not being visible at all). On the 8 foot wall, I measured to center. At 48 inches (center) I marked a spot two inches away in both directions. Line up your hash mark with the center of the stake and get to hammering! Do the same for the other hash mark. Now measure 24 inches from the side, make a hash mark, and set your stake. Do the same for the other side. You should now have 4 reinforcing stakes on the 8 foot wall. Rinse and repeat for the other 8 foot wall. For the 4 foot wall, I only put in two stakes, two inches on either side of the center. Screw them all into place using two screws per stake.


© copyright homemade grits

DIY: Raised bed Part 1

I told you a while back that we had been working on a project. Well, we have been. Unfortunately for whatever reason (rain, mud, store hours, not having a truck) we have been delayed, so I'm going to break down this DIY in to phases. We are totally in to urban homesteading, growing our own, and using what we got. Sam is not interested in gardening like I am, but he does like to eat. Growing a vegetable garden was the easiest and fastest way to get his hands dirty.

Ok, so we followed this glorious plan (I really can't tell you how much I love Sunset! I can't wait to get my first issue):


{perfect raised bed}


8 -foot-long 2x6's, stained the night before


My Dad gave us these awesome posts, that he had left over from some other project.


You have to construct this bad boy upside down.


My man diggin holes. Pretty hot.


My baby, cause she's cute.


The hardest part was that Sam had to redistribute the dirt to make the bed level. Sweat city.


Stay tuned for recipe for perfect dirt...

*Update: Check out Sam's response to this post. HILARIOUS!

© copyright homemade grits

Thursday, April 30, 2009

DIY: Restoring Garden Furniture

These little babies were destined to become yard art until my neighbor Christy was like "hold the phone," and gave me a little lesson on reupholstering. I don't think I'll be recovering a chair anytime soon, but here's a quick and easy tutorial.

Before:


The seats got waterlogged and rotted:( I'll miss the yellow.

After:


1.


You'll need some ply board for the seat. Sam got underneath and traced the shape on to the board.

2.


Next cut out the shape with a saw.

3.


I washed down the chairs and repainted them to prevent rust.

4.


We used two inch foam board which I cut in to the shape of the seat with a bread knife.

5.


We used vinyl for the seat and cut it. Alternating sides, we pulled the fabric tight little by little and then stapled it to the board.

6.


7.


Screw in to the board from the bottom to secure.

Voila.

© copyright homemade grits

Sunday, July 6, 2008

Green and Clean

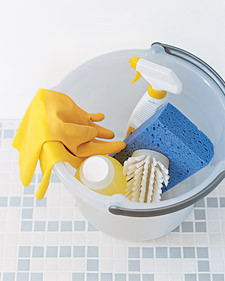
My friend Jodi was interested in green cleaning and suggested I do a post on that. As we all know our favorite cleaning products aren't always so great for us or the environment. I found a great list of concoctions you can make out of regular household staples. You can see them all here!

Not only are homemade cleaning supplies better for the earth, but they are cheap! A fun Martha type project would be pre making them, putting them in pretty spray bottles from the Container Store and labeling them...


Martha's suggestions:

These basic products have more than one purpose; use them in place of chemical-based cleansers for a healthy and less-expensive alternative.

Dishwashing Liquids
Mix 2 cups water with 2 tablespoons dishwashing liquid in a spray bottle. Use solution to clean countertops and other household surfaces. Rinse with plain water.

Baking Soda
Combine 3 parts warm water with 1 part baking soda. With a damp sponge, rub the paste on laminate countertops, then rinse. It will also polish chrome and stainless steel.

Borax
To remove marks on stained toilet bowls, add 1/2 cup borax to the water, swish it around, and let soak overnight.

Washing Soda
For extremely soiled surfaces, such as oil-stained garage floors, mop area with a solution of 1/2 cup washing soda (sodium carbonate) mixed in a bucket of warm water.

Soda Water
Pour a small amount of soda water onto a fresh carpet spill, and blot with a towel. Don't rub, as you may mat the fibers. If the stain is set, try hydrogen peroxide: Pour some onto a clean, white cloth, then press cloth to carpet. Wait about 15 minutes, blot with a clean cloth. There should be no need to rinse.

Water
Boost the cleaning power of ordinary water by presoaking a soiled spot, flushing away dirt or grime with a stronger spray, gently scrubbing, or using warmer water. For protein stains, such as egg or blood, cold water still works best.

Hydrogen Peroxide
Hydrogen peroxide is safe to treat stains on delicate colorfast fabrics. Place stained area in a bowl, and pour on peroxide. Let soak at least 1 hour, then launder as usual.

Distilled White Vinegar and Lemon Juice
Place paper towels or sponges soaked in full-strength vinegar or lemon juice over crusty buildup around faucets. Leave for about an hour, then scrub deposits away.

Tea-Tree Oil
Mix a few drops of the oil in a spray bottle filled with 2 cups water and 2 tablespoons dishwashing liquid to create an effective general-purpose cleaner. (Handle cautiously, and consult a doctor before using if you are pregnant.)


© copyright homemade grits

Sunday, June 29, 2008

DIY Weekend Edition

I told you that last week Sam and I went to Ikea and one of the things that we bought was the GORM shelf unit to use as a make shift potting bench. We had looked at sheds, rubber bins, and you name it to solve our outdoor storage problem.


When we saw the GORM I was sure that it would be the perfect solution for my gardening supplies. The wood was untreated so Sam had to stain it. We used a color called "Gunstock" which we purchased from Home Depot. That was the most time consuming part of the project. We had to wait for each side to dry before he could stain the reverse.


We bought a galvanized bin, SKRIN, from Ikea to store fertilizer, peat moss, potting soil, and whatever else we buy that comes in a large bag! We also purchased a white bin with lid for bird seed. Sam then screwed several mini hooks in to the shelf for easy access to our tools. I am really excited about how it turned out, especially because the last shelf is the perfect size for our bulky recycling bin!


Total cost: a little more than $100.

© copyright homemade grits